
Please forgive my tardiness for saying I am on the road. I am not sure of my posting schedule, as I am not sure of my schedule in any regards right now! CeCe
Saturday, May 14, 2011


Friday, May 6, 2011
The Latest Chalk Paint Project


Another shipment arrived last week-
the third one
This is serious stuff folks-
I am ordering colors for which I have no present use!
This shipment brought
Louis Blue
Cream
Henrietta
Country Grey
Henrietta
Country Grey
2 more cans of Old White
Dark Wax
Another Wax Brush
Another can of Clear Wax

This dresser will go in the guest room of the beach condo.
It is one of the ones I got for $60.00 at an estate sale a couple of weeks ago.
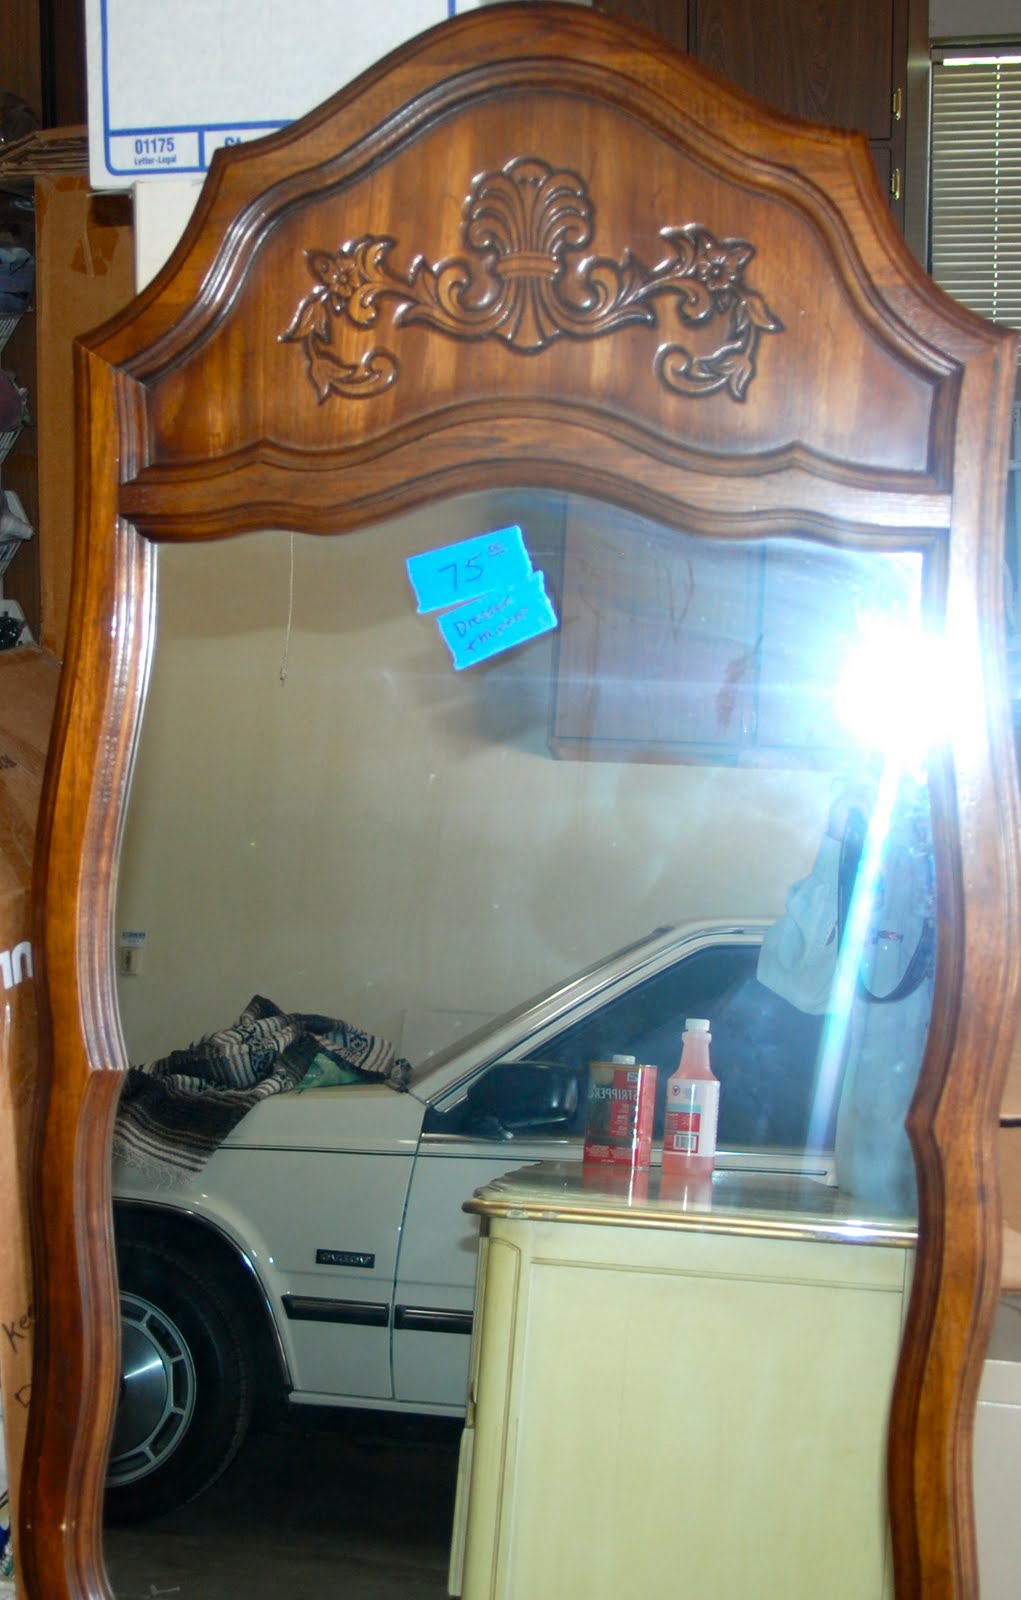
This is the mirror...
sorry about the flash...
Truly I am so sorry that I have not even learned how to turn off my flash...
I
KnOw
it
is
ridiculous!
I also forgot to take a picture of the finished mirror..
I will do that later.
Let's move on, shall we?
The first thing I did was strip the top of the dresser..
I had been admiring the way Miss Mustard Seed leaves the top of many of her items stained.
By the way, my husband stopped to pick up some stripper for me at Home Depot. I gave him no direction on what brand to purchase because frankly, I have never used a brand that I thought was worth the money..
BUT
that has changed.
He bought


and I must say it worked like a charm.I also had him purchase some
Minwax Dark Walnut stain.. another product Miss Mustard Seed uses.
Upon reading the back of the can I saw they recommended using a prep product for the wood to prepare it for staining.
DrAtS
I didn't want to go to stop and run to the store..
Soooooooo
I proceeded..
Big, Huge Mistake
Streaked.. looked awful
I decided I would just paint it..forget the stained top.
But I told my friend, hair dresser, Lindsey about it and she advised me to strip it again or I would be sorry down the road.
I took her advice to heart and stripped it all over again.
Now, here is the pathetic part.
I found the suggested product for preparation not at the store but on my shelf of supplies in the storage room! I couldn't believe it. I don't ever remember using it before but obviously I purchased it for some project... or maybe it is like me buying the chalk paint.. I just thought I might be using it some day!
This time the stain looked much better!
Don't skip this step when you strip and stain!
Soooooo
now the top is stained..
What color to paint on the dresser?
I started out painting it Versailles
I liked it.
BUT
I wasn't sure about what color I really wanted to use in the condo with the Duck Egg Blue I already had going on so I decided to repaint..
I used Duck Egg Blue not diluted.
I then outlined the accents with Old White.

I hated it.
I wished I had left it Versailles.
Now What?
Paint it again?
I decided to white wash over it with thinned down Old White.


O.K.
this I could live with!
But wait, I got Dark Wax with my new delivery.
Let's see what that does to the piece, shall we?

You can see on the side and corner the difference from the drawers that have not been waxed.

I finished putting Dark Wax on the entire piece and then attached the original hardware which I had painted white. Looks pretty bad, huh? But wait...after Dark Waxing....

Beautiful

All Finished

I LOVE IT
I LOVE IT
I LOVE IT
I am linking up with http://www.betweennapsontheporch.blogspot.com/
Saturday, April 30, 2011
Stenciled Doily Table
I have always loved doilies. I just like the look of them. They are lacy and just plain fun.

I probably started loving them in grade school when we used them to make these...

It is hard for me not to buy them when I see them in a store even when not presented in the doily form. The shelf edge below is an example.

My love of them is what inspired the below window treatment. Simple doilies folded over a curtain rod.

My love of them is also what inspired my
Doily Table
First I ordered some vinyl stencils off the Internet. I simply googled vinyl doilies and went from there choosing a design.
I had already received my first shipment ( yes, I have had more... three total, to be exact )of Chalk Paint.

I mixed two parts Paris Grey with one part Old White to use for stenciling.
I can't get over how blue this grey looks in pictures. It does not look this blue in person!

When I started the table looked like this.


First I painted the entire table with Old White Chalk Paint and let it dry.
Next I took the mixture of Old White and Paris Grey and stenciled the doilies around the top of the table. After I stenciled the first one I went to the opposite side and stenciled another one. Once I had stenciled two, I started measuring the distance in between the doilies so they would be evenly spaced. Below is what it looked like when I had finished all the doilies. I did eight of them around the circumference of the table.

Once I had finished stenciling I painted the rest of the table top in the Paris Grey/Old White mixture.

The first two doilies I stenciled I used way too much paint on my brush. I was happy with it until on the third doily I used the stenciling principle I had learned years ago... you don't need much paint. The third stencil looked great and so it went around the table.
I thought I could live with leaving the first two alone but I just couldn't stand it and I decided to fix it before I went any further and sooooooooo
out came sand paper.
I simply hand sanded the area where the stencil was..repainted in Old White and did the stencil again.

I was very glad I fixed the two first ones.
After everything dried I waxed the table with Annie Sloan's clear wax.

And here is the finished product!

I love it..
It will be going to Florida in the beach condo cottage.
I am not sure yet what kind of chairs I will be using with it but I do plan to make seat cushions similar to the ones shown in the picture above... with doilies, of course!
I am linking up with Metamorphosis Monday.
I am linking up with Metamorphosis Monday.
Monday, April 25, 2011

Sunday, April 24, 2011
The Chair In All It's Glory

The Chair

The chair during deconstruction..
I thought I had taken more pictures...
I am sure I did but I cannot find them so you will have to use your imagination. It took a long time just to get the nail heads out of this chair. Afterwards I started ripping off fabric.
At some point, I went to my computer and googled upholstering...
What in the world was I thinking?
Just because I had been able to slip cover one couch sort of successfully, I now thought I could upholster a chair??????
H-E-L-L-O
Well, sometimes my brain does not work properly....
Maybe I should be saying lots of time my brain does not work properly!
O.K., so the advice I got, from reading several tutorials, was to take lots of pictures as you disassemble the piece. I did this, I know I did this! Also, the first piece you dissemble will be the last piece you put back on..
Also suggested, was trying not to cut up the different pieces so you could use them for a pattern.
OOPS...
I had already cut into a couple of pieces.
Soooo... back out to the garage I went and started once again taking more pieces off the chair.
Then I got to

the pleats on the front. Oh My..
each one of those little pleats is a roll of batting in and of itself. Also, do you notice the buttons? It was at this point that I was ready to scream...
My husband advised me to let him take it to the trash and give up. He said I got the other furniture pieces at such a good price, to just let this chair thing goooooooooooo
Do any of you look at the site Better After?
I was taking a break and checking on blogs and there she was.
Lindsey, of Better After was posting about starting a new section on her blog. I think it was going to be called
Better Before.
It was to be pictures of disaster projects.
I couldn't believe it..
I started laughing..
I was a pinch away from taking the pictures and sending them to her for maybe the first post on the new feature.
BUT
every time I thought about putting the chair in the trash I could just picture some other crafty female stopping out front, throwing my chair in the car and taking it home to turn it into a treasure.
Soooooooo,
I started over.
I got muslin and stapled it back on all the places I had removed the upholstery. I took more batting and put it over all those little tufts and pleats.
My husband said the chair looked like it had just gotten out of surgery! Smile...
I went to a local shop that sells all kinds of fabric and upholstery items and had a new cushion cut to go in the seat.
The chair seat was very low to begin with and the springs were old so the new seat fit right in with the remake plans.
Then
I started my slipcover.
It took two whole drop cloths
( because of cutting a couple of pieces twice)
but now I have myself a GrEaT new chair,
if I do say so myself!!!!
I LoVe it!!!!!
I am so PrOuD
of the results!!!!
So, with no further ado
I give you...

My New Chair


Isn't her pleated little skirt cute?
The seat looks gigantic here for some reason..
just ignore it and admire the little pleats...
on the skirt..
not the back of the chair
:)
I have a feeling those pleats on the back of the chair are for a VERY ADVANCED
Upholstery Class!

Side view.. the panels are one of the things I cut twice.
The first go around I tried having the sides cut as one piece..
didn't work..
so I started over and put piping around the back side panels.

For the back of the chair I used buttons rather than putting in a zipper.

I even made bound buttonholes,
something I have not done in years and years..
They aren't great bound buttonholes if one examines them but they look great just looking at the chair. :)

Isn't the carving on the arms and legs great?
I made little ties for the arms.

And this sassy lady does not mind lifting her skirt one bit to show off more of her legs!
One last look...
I can't help myself..
I smile every time I go by it..
My husband told me he was wrong about throwing out the chair...
He teased me and said he's been wrong before and he will be wrong again.
We both think the chair is very comfortable and will be great in our Master bedroom in Destin!
And just wait till you see my latest project!
I best get back to working on it.
Oh and by the way,
I am back on the new blogger and now, for some reason, it is allowing me to upload the pictures.
Yippee!
Yippee!
Happy Easter Everyone!
Tuesday, April 19, 2011
The Reveal

What a workshop I have...
Garage, back patio, on and on...
Anyway, here are the after pictures of last week's project..

You will notice all the stuff on top of the dresser.
The tumbled marble tile is the floor of the bathrooms and the kitchen back splash.The two boards on the left are possible colors for the walls. The board with the blue green are possible colors to wash the bead board that is being installed between the beams in the Living Room and Dining Room.We are using the very lightest color which is SW Window Pane. The beams will be white washed.
The rest of the ceilings in the condo will be Powder Coated White Ceiling Tins like the ones we have in the cottage in Pinetop. More pictures later on of these choices.
The round mirror is unrelated.
I had just painted it with Versailles Chalk paint to look at the color.
I mixed Paris Grey Chalk Paint with the Country White for the drawers and sections of the mirror. The rest of the dresser and night stand are painted with Country White.I used a small brush to paint the detail work.
I used Valspar antiquing glaze and then finished the pieces off with Hannants's clear wax.

In these pictures the grey looks blue. It is interesting as it seems to depend on the light or one's mood as to what color the drawers look.


This week I am working on the chair, the other dresser and some vintage high school auditorium seats. More about all of those later...
I must get back to work.. or should I say play?????
Hope your day is as playful as mine is intended to be!
Monday, April 18, 2011
Last Week's Projects
A week ago Friday, I went to an Estate sale in Phoenix. I had spied some items online which I thought I would be interested in for the condo in Destin, Florida. My husband ended up coming with the truck and we filled the back of my jeep and the truck with most of the items below.

You can't see the carving on the legs and arms of this chair here.... I will get closer shots later. I love the lines of this chair and it is quite comfortable. I paid $50. for the chair. Do I have a tale to tell about this chair but that will wait for later.... I will give you a hint... see all those little pleats in the upholstery? What or what was I thinking? " Alright, already, stop it Ce Ce... later girl, later! " I have a hard time not going on about this chair.... more pictures to come...
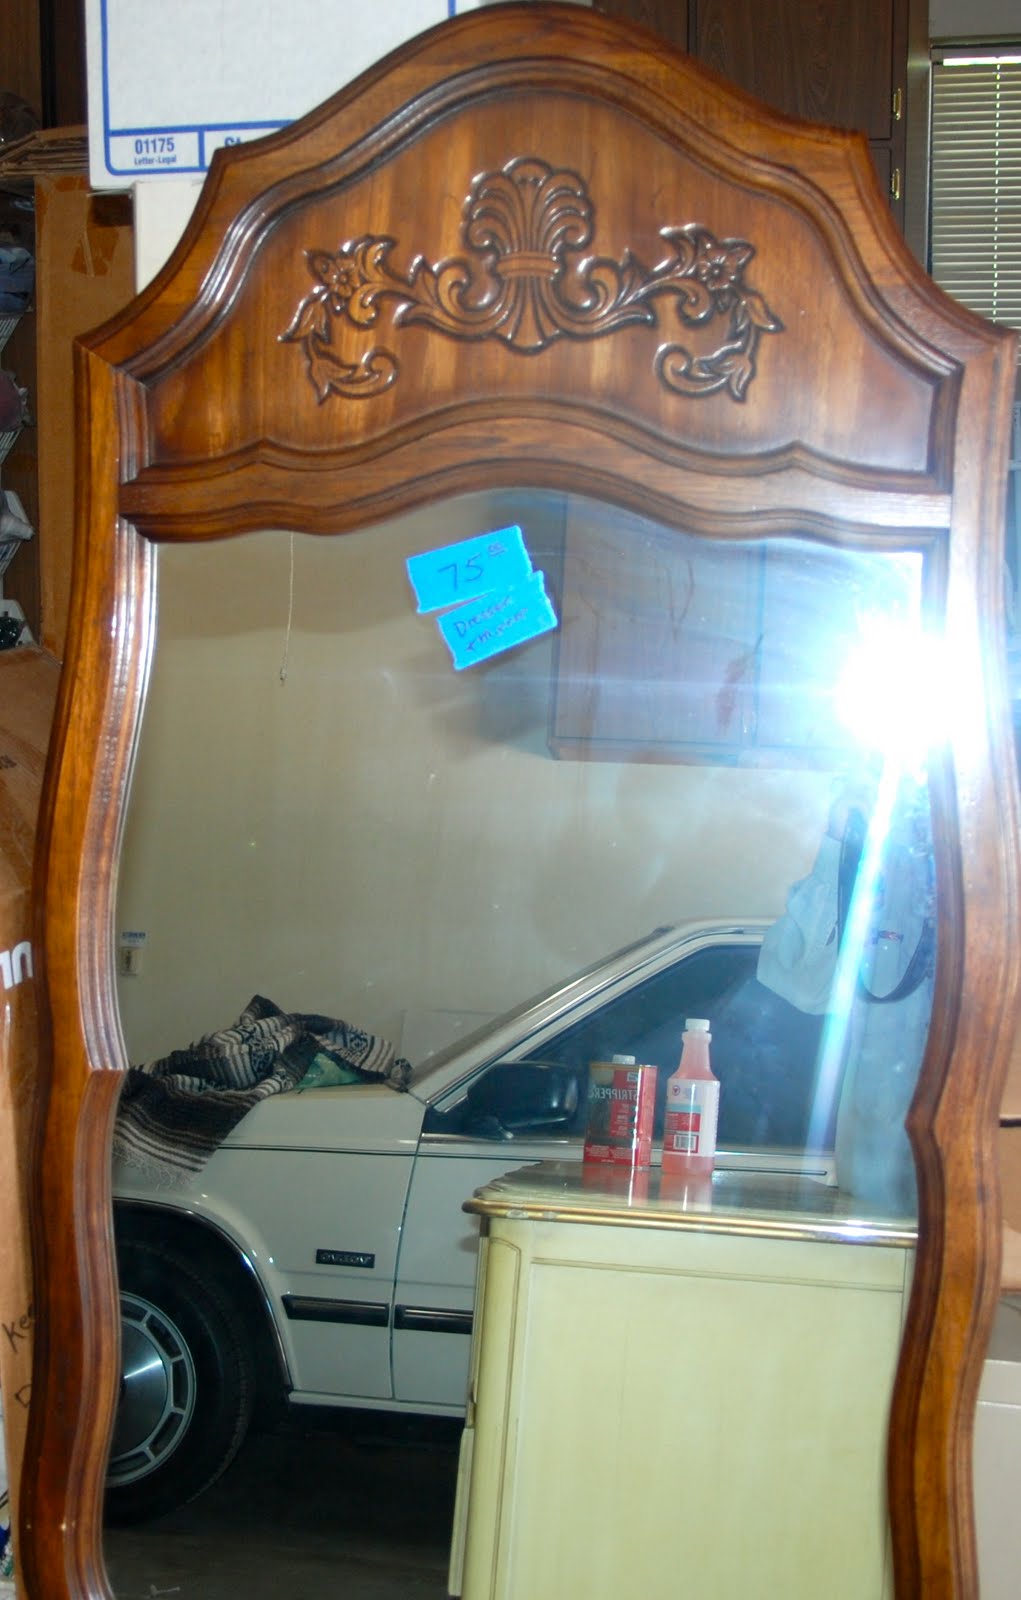
Mirror that belongs to the dresser below

French Dresser
Drawers are hiding behind the middle door-
This piece had $75.00 on it but I got it for $60.00
More about it, as well, later...

This piece I already had. My friend Suzi and I bought it on one of our cross country trips... I started gouging out the cork before I took a before picture... What a mess. My intention is to replace the cork..

French Nightstand that matches the below dresser and mirror.
Again, I removed a handle before I remembered to take a before shot.
This piece I got for $25.00

Mirror for below dresser

Another French Dresser
$78.00 on this piece but I also got it for $60.00
This last dresser, mirror and nightstand are the pieces that were completely finished this past week. Now I am trying to figure out how to show them to you...
Here is my dilemma. For some reason I am not able to upload pictures in the new blogger. I have had to revert back to the original and I hate it. I have to remember what order to put the pictures in as I upload them. I cannot move them into position...
Therefore, if I upload them now, they will be at the beginning of this post and you will see the after before you see the before! So, should I show them to you or wait to show you more in another post????
Much of life is out of order at times so I guess it really doesn't matter in what order they come but I think I will post the after pictures in another post. I also think I will try once again to upload pictures in the new blogger. If anyone knows why this is happening to me I would love to know how to fix it.... My brain is too challenged to have to figure out how I want the pictures to appear when I am uploading them... I need the capability to move them around!!!!
Hope you are having an orderly day!!!!
Subscribe to:
Posts (Atom)


